Design

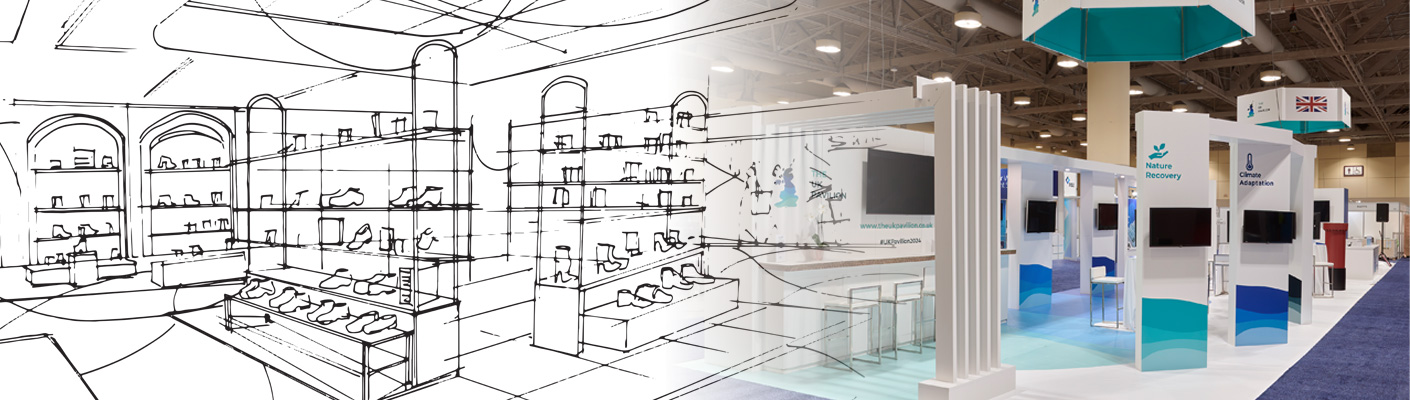
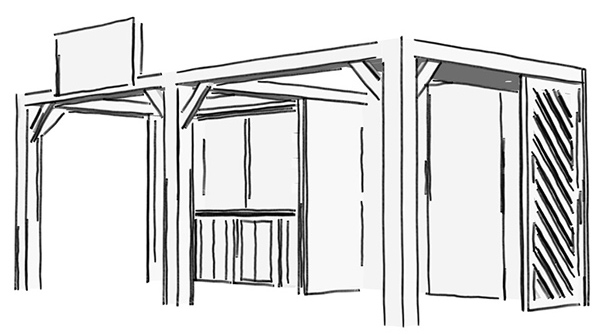
Stages of Exhibition Stand Development

1. Idea and Concept

We start by creating sketches of your stand. You can provide your own drafts or rely on us to develop them based on your preferences.

Booth Concept
Booth Render

2. 3D Visualization

Our designers will create a detailed 3D model of the stand, allowing you to evaluate its appearance, functionality, and alignment with your expectations.

3. Detailing and Design

Together, we’ll select panel colors, determine the optimal placement of logos, and choose lighting elements to ensure your stand looks impressive and aligns with your brand identity.

4. Printing and Production

This stage involves manufacturing. We use state-of-the-art industrial equipment to ensure the highest printing quality, highlighting the uniqueness of your stand.

Assembly

5. Assembly and Quality Check

All stand components will be assembled, tested, and thoroughly inspected to ensure the structure’s reliability and compliance with the design.

6. Instlation at Event

Our designers will create a detailed 3D model of the stand, allowing you to evaluate its appearance, functionality, and alignment with your expectations.


Lightweight and Portable

Xanita board is 75% lighter than traditional materials, making it easy to transport, assemble, and ideal for mobile, adaptable setups like exhibition stands.

Customisable and Versatile

Xanita board’s versatility allows for custom designs, high-quality printing, and intricate cutouts, making it perfect for unique displays and brand activations.

Cost-Effective and Sustainable

Xanita board is an affordable, sustainable choice made from recycled paper, FSC-certified, and eco-friendly, perfect for eco-conscious exhibition stands.